DA Sander Tips To Do A Perfect Paint
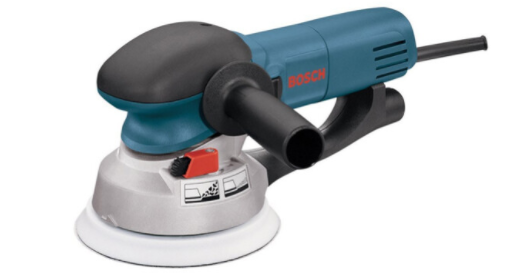
A DA sander is one of the most user-friendly versatile power tools. You can use the sander to do different tasks. But one of the most uses of this tool is to cut through the old paint surface. Sanding is crucial to get a smooth and even surface to paint perfectly.
However, in order to do perfect paint and get the desired result, there are some tips that you need to follow. These tips will also make your work faster. Have a read to know the tips! You can also See These Helpful Hints to know more.
However, in order to do perfect paint and get the desired result, there are some tips that you need to follow. These tips will also make your work faster. Have a read to know the tips! You can also See These Helpful Hints to know more.
DA Sander Tips to Do a Perfect PaintSanding is crucial to remove old paint, smooth scratches. It provides a clean and proper surface for easy paint. Here are some tips to do perfect paint-
1. First thing first, before rolling out the sander it is crucial to clean the surface. If you use the machine over a dirty surface, it will damage the scratches as well as damage the sandpaper.
2. Sanding a surface with a DA sander is a risk-involved task. Wear safety protection, such as a dust mask, goggles, and ear protection. The other thing you need to ensure that the area is ventilated well. Sanding also involves dust, so wearing a respirator is a must to protect yourself.
3. Make sure to use the appropriate size of the grit. It will help to cut through the paint surface and get a smooth and even finishing on the surface.
4. Avoid using one sanding disc on top of the other. The other thing to make sure of is that the DA sander’s rubber head should be always in good condition. Otherwise, the sanding will uneven on the surface of the workpiece.
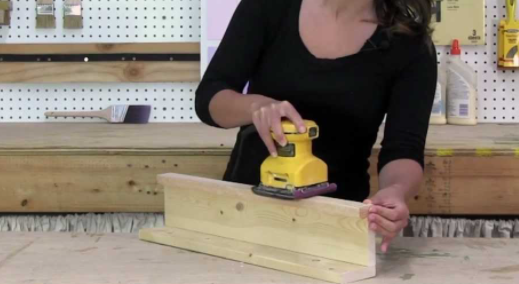
5. Start sanding by keeping the machine flat on the surface. Keeping the machine flat will avoid gouging the surface.
6. Let the sander go through evenly on the whole surface to prevent blotching or spots on the surface.
7. Do not run the sander through any extension cord. Running through an extension cord can cause electrical hazards. Always use the electrical cord that is attached.
8. DA sander allows the user to do adjustments on speed. Speed should be at a decent rate so that the machine does burn the metal.
1. First thing first, before rolling out the sander it is crucial to clean the surface. If you use the machine over a dirty surface, it will damage the scratches as well as damage the sandpaper.
2. Sanding a surface with a DA sander is a risk-involved task. Wear safety protection, such as a dust mask, goggles, and ear protection. The other thing you need to ensure that the area is ventilated well. Sanding also involves dust, so wearing a respirator is a must to protect yourself.
3. Make sure to use the appropriate size of the grit. It will help to cut through the paint surface and get a smooth and even finishing on the surface.
4. Avoid using one sanding disc on top of the other. The other thing to make sure of is that the DA sander’s rubber head should be always in good condition. Otherwise, the sanding will uneven on the surface of the workpiece.
5. Start sanding by keeping the machine flat on the surface. Keeping the machine flat will avoid gouging the surface.
6. Let the sander go through evenly on the whole surface to prevent blotching or spots on the surface.
7. Do not run the sander through any extension cord. Running through an extension cord can cause electrical hazards. Always use the electrical cord that is attached.
8. DA sander allows the user to do adjustments on speed. Speed should be at a decent rate so that the machine does burn the metal.
Hopefully, after reading this, it will be easy for you to do a perfect paint with the help of a DA sander. You will get excellent results if you follow the tips mentioned above!
